Quick Installation Guide for the Infinity DNA Pro Banners
Installation speed matters when you are preparing for busy trade shows and exhibitions. The Infinity DNA Pro Banners are engineered for fast, tool-free setup, so you can move from transport to a striking display quickly and confidently. This guide focuses on the product features, practical steps, and benefits that make these banners ideal for exhibitors who value time and professional presentation.
Product Overview
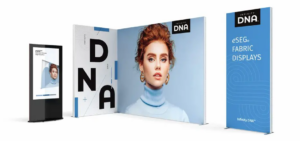
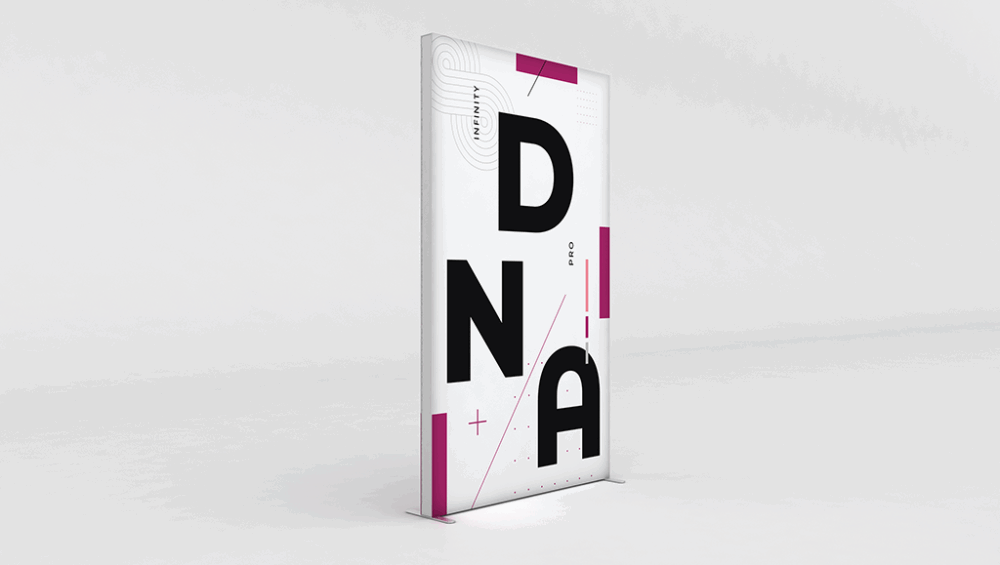
The Infinity DNA Pro Banners deliver a high-impact visual solution with a lightweight, modular frame and stretch fabric graphics. They are optimized for fast installation and repeatable results. Moreover, the system is designed for reliability, so you can expect consistent performance across events. If you would like to see the full selection, explore the Infinity DNA Pro Banners range.
Specifications
The banner system features precision-engineered frame components that click together without tools. In addition, the fabric graphics are printed on premium stretch material for seamless, vibrant imaging. Typical specifications include foldable aluminium frame sections, channel edges for graphics, and a compact transport case that protects the kit during transit. Consequently, the combination of materials and engineering reduces weight while increasing durability.
Components and Design Features
The kit includes interlocking frame pieces, stretch fabric graphics with silicone edges, a padded transport case, and optional stabilizing hardware. Furthermore, the frame’s intuitive connection points prevent incorrect assembly, because each component only fits in the intended orientation. The fabric’s edge-and-channel system creates a taut, wrinkle-free finish that delivers a professional look every time.
Installation Process
First, prepare a flat, clean workspace large enough to lay out the frame components. Next, unpack the transport case and arrange parts so they are easy to identify. Then, assemble the base frame and work upward systematically, connecting pieces until the structure feels solid and secure. After the frame is complete, begin inserting the graphic edges into the frame channels, starting at one corner and moving around the frame clockwise for a smooth finish.
As you install the graphics, the fabric will progressively become taut. Therefore, avoid forcing the edges; instead, realign and continue slowly when you encounter resistance. Because the system is tool-free, one person can often complete the setup, but two people make alignment faster and more precise.
Final Positioning and Adjustments
After the graphics are seated, position the display within your booth using the lightweight frame to move and fine-tune placement. Walk around the display to check sightlines and visual balance from different angles. In addition, verify that stabilizers or additional securing hardware are in place if required by the venue. These final checks ensure your display is both eye-catching and safe for the event environment.
Time-Saving and Team Efficiency
The Infinity DNA Pro Banners reduce setup time, which translates into lower labour costs and more time for booth preparation. For example, faster installation helps when you have tight build windows or multiple displays to assemble. Additionally, the simple, predictable process lets team members split tasks efficiently and avoid tool-related delays. For repeat events, the consistent setup process also minimizes training needs and reduces the chance of errors.
Conclusion
In summary, the Infinity DNA Pro Banners combine smart engineering, premium materials, and a user-friendly installation workflow to deliver reliable, high-quality exhibition displays. Therefore, exhibitors benefit from faster setup, consistent results, and a professional finish that attracts attention. With practice, you will be able to transform the transport case into a polished display in minutes, which means more time to focus on engaging visitors and driving results at your event.