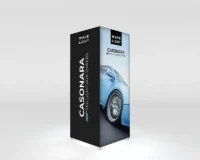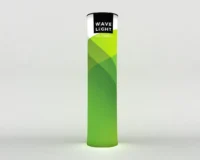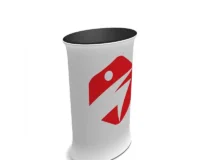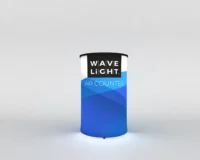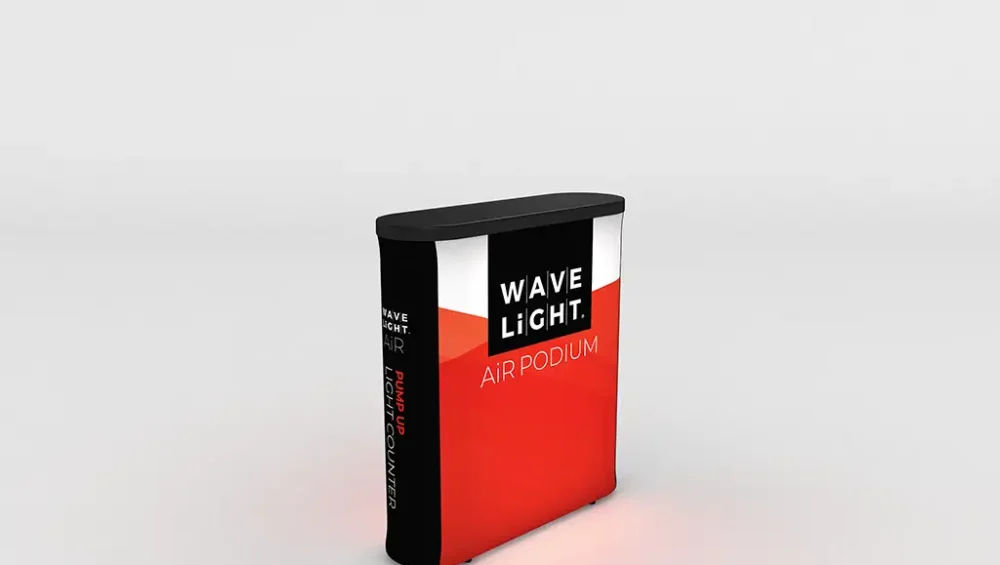
Understanding how to assemble WaveLight® Air Podiums correctly is essential for delivering a professional, illuminated focal point at exhibitions, trade fairs and corporate events across the UK. These inflatable display counters combine integrated lighting, compact storage and rapid installation, making them highly effective event presentation tools. When you know the correct sequence for inflation, cabling and fitting the graphic wrap, you can set them up quickly and safely, even in busy venues with tight build-up times.
What Are WaveLight® Air Podiums?
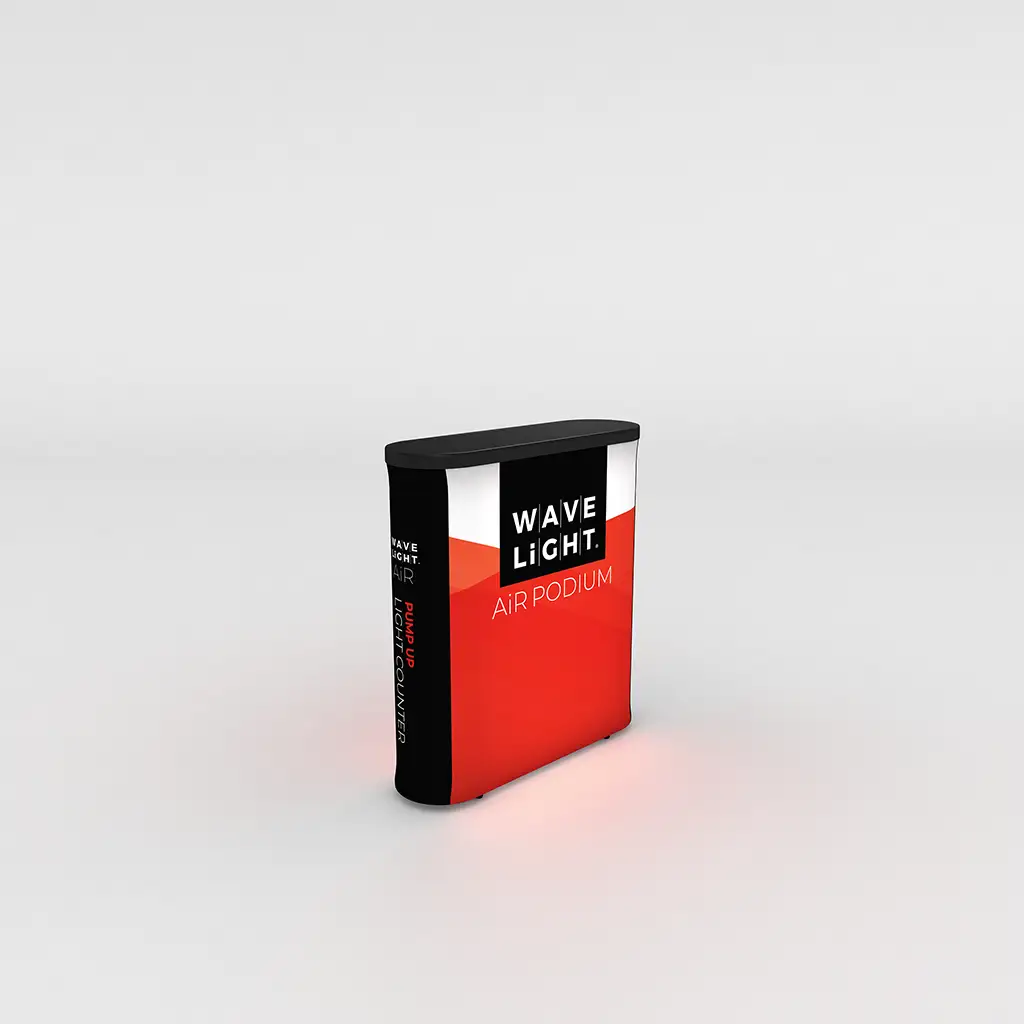
These inflatable display stands are designed as lightweight trade show podiums that travel easily in a single carry bag yet look substantial when inflated. Each unit typically includes a base plate, top counter, internal LED light base and a printed fabric sleeve for branding. Because they double as portable event furniture and promotional signage, they are ideal for product demonstrations, welcome points and information desks. Their illuminated structure ensures messages remain visible in low-light environments and crowded aisles.
Preparing for Safe and Efficient Assembly
Before inflating the unit, clear a flat, stable area and unpack all components, checking for any damage in transit. Confirm access to power sockets and, where required, use venue-approved extension leads and power strips that meet UK safety standards. Reading the supplied instructions in full at least once helps you understand how the tool-free event displays are designed to lock together. Lay out the base and top plates, LED module, power cables and graphic so that each item is within easy reach during assembly.
Step-by-Step Assembly Process
Begin by placing the base plate on the floor with any non-slip surface facing down, then position the deflated body vertically, aligning guide marks or fixing points. Attach the built-in fan or external pump securely, switch it on and allow the structure to inflate until firm, avoiding overinflation. Once upright, install the LED light base if separate, and connect low-voltage leads according to the manufacturer’s diagram. Finally, place the top counter in position and slide the fabric graphic over the body so that any branded podium graphics or custom branding options face the audience.
Operating, Stability and Event Best Practice
After assembly, connect the power to a suitable mains socket and check that the illuminated presentation podiums are evenly lit and stable. In UK venues, ensure all electrical equipment is PAT tested and that cables are routed away from walkways or secured with tape or cable covers to prevent trips. When using WaveLight® Air Podiums near entrances or busy junctions, maintain enough clearance for safe visitor flow. For outdoor or marquee use, follow supplier advice on wind limits, moisture protection and anchoring to keep the structure secure.
At the end of the event, power down the LEDs, remove the fabric sleeve and top plate, then open the valve to release air slowly and fold the body neatly. Allow the graphic to dry if it has been exposed to moisture, and fold it carefully to protect the print, especially on reusable exhibition podiums and custom printed lecterns. Pack all components back into the carry bag in the recommended order so the system remains a reliable part of your portable display solutions. To explore how these inflatable counters can support your next campaign and ask detailed set-up questions, speak with an event display specialist for tailored guidance.