How to Assemble WaveLight® Casonara Banners: A Step-by-Step Guide
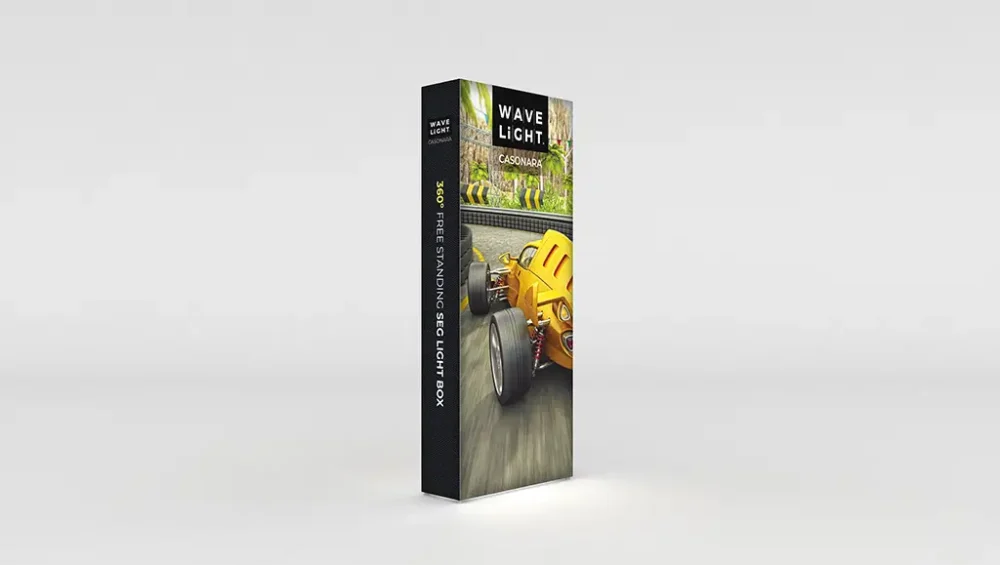
WaveLight® Casonara Banners are versatile illuminated display solutions designed to help brands stand out at events, exhibitions, and in retail spaces. This guide walks you through the assembly process so you can install your lightbox confidently and safely. By understanding each component and following a logical sequence, you will achieve an evenly lit, professional finish that enhances your fabric light box graphics and protects your investment for future use.
Understanding Your Lightbox Display
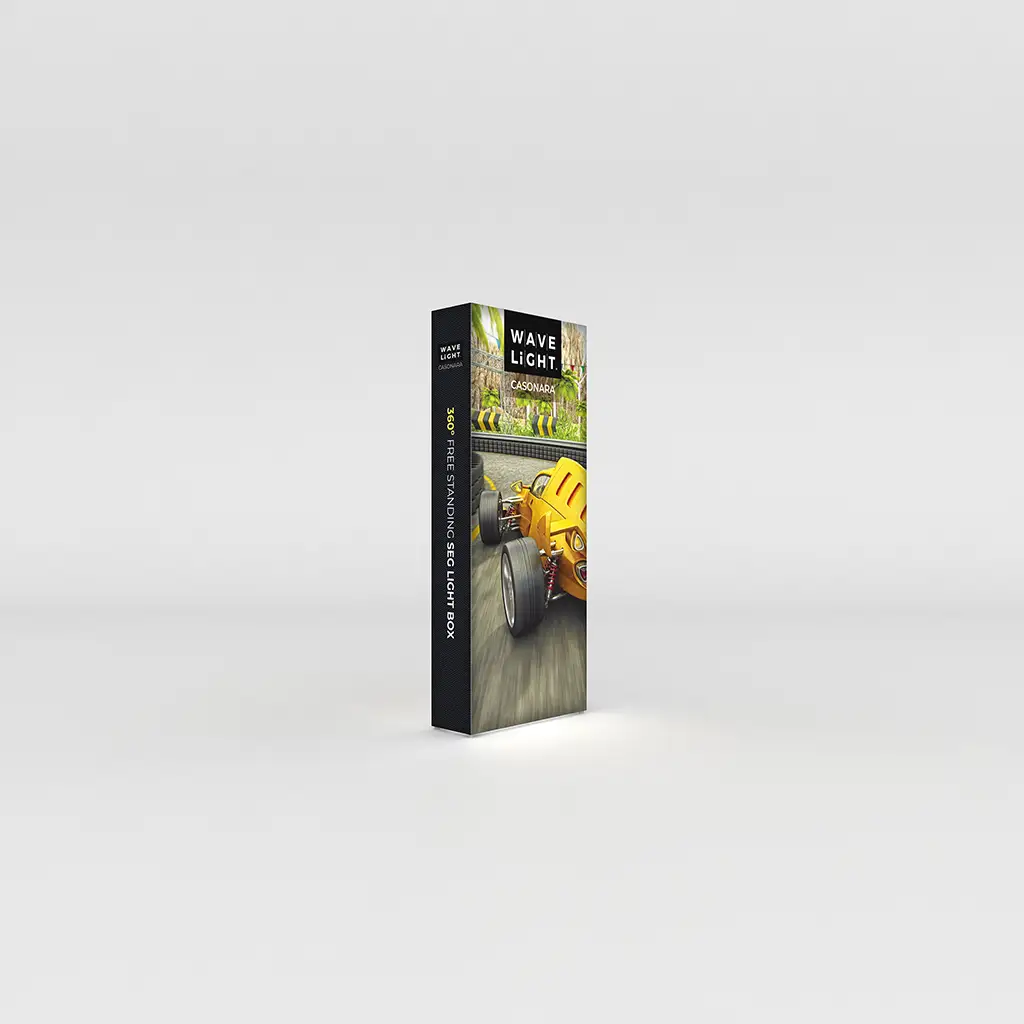
The WaveLight® Casonara system consists of an aluminium frame, integrated LED lighting, stabilising feet, and tensioned fabric graphics. Most frames arrive in a padded bag or case, making them suitable for uk trade show displays and frequent transport. Inside, you will usually find labelled frame profiles, corner connectors and lighting already fitted to specific sections. Familiarise yourself with the parts checklist supplied, as this will help you confirm that nothing is missing before assembly begins.
Tools and Parts You Will Need
Lay all components out on a clean, flat surface to avoid scratching the frame or fabric. Most Casonara units are tool-free and use push-button or twist-lock joints, though some kits include Allen keys or small screws. Check that you have the correct vertical and horizontal profiles, feet, power packs and both front and rear graphics before you continue. Organising these elements at the start speeds up the build and reduces the risk of assembly errors with seg light box systems.
Step-by-Step Frame Assembly and LED Installation
Begin by assembling the base, joining the lower horizontal profiles with their matching corner connectors until they click firmly into place. Add the vertical profiles, checking that every button locks fully and that the frame sits square. Fit the stabilising feet using the supplied fixings, ensuring the structure is stable on the floor. Once the frame is complete, position any loose LED bars or curtain-style LEDs into the inner channels, routing the cables neatly towards the power input to create reliable, reusable display solutions.
Fitting the Fabric Graphics Correctly
WaveLight® Casonara Banners use a silicone edge graphic system, often chosen over traditional custom fabric banners for its clean, frameless look. Start at the top corners, pressing the silicone edging into the channel and working gradually towards the centre. Repeat this process for the sides, then secure the bottom edge while checking that the printed design is aligned and upright. Avoid pulling solely on the silicone strip; instead, support the fabric with your other hand to prevent stretching and ensure a smooth finish suitable for premium backlit banners.
Before you switch on the power, inspect all joints and feet to confirm they are tight and stable, and verify that no cables are trapped between frame sections. Well-assembled backlit exhibition displays double as effective trade show marketing tools, especially when integrated into modular exhibition stands or portable illuminated backdrops. If you plan a larger stand, consider how multiple units might work together as uk trade show displays and whether you need curved corners, higher walls, or extra width for maximum visibility. To explore options and discuss illuminated display solutions in more detail, speak with a display specialist who can help match the system to your objectives and budget.