Assembling and packing down trade show lightboxes efficiently is essential for exhibitors who want professional, consistent branding at every event. This guide explains how to prepare, build, wire, configure and store your system so it performs reliably at busy UK venues. Whether you are new to custom lightbox displays or upgrading an existing stand, understanding each stage will help you work safely and protect your investment.
How to Assemble Infinity DNA™ Pro Lightboxes for Trade Shows
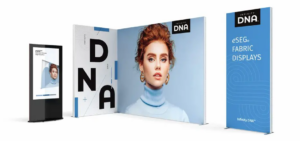
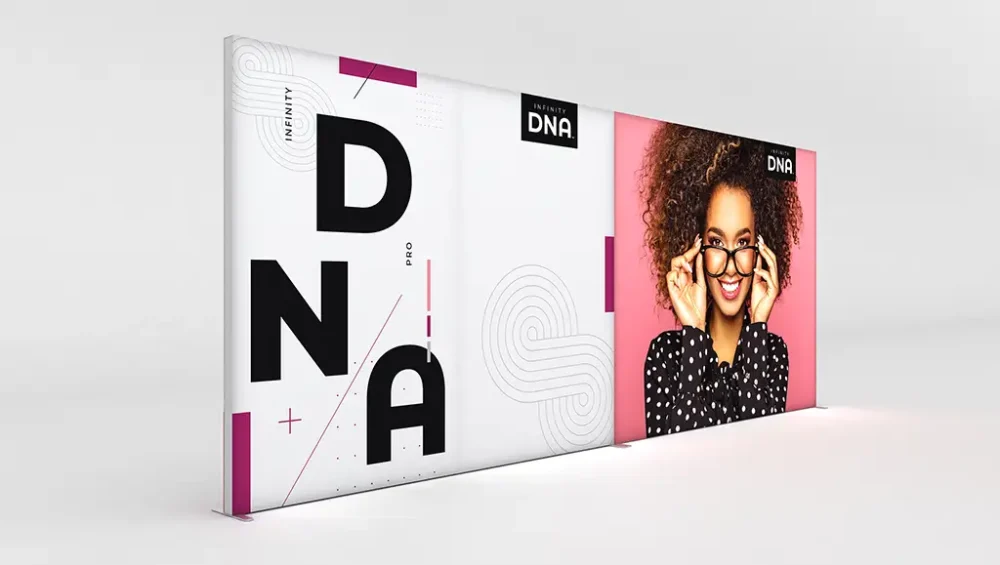
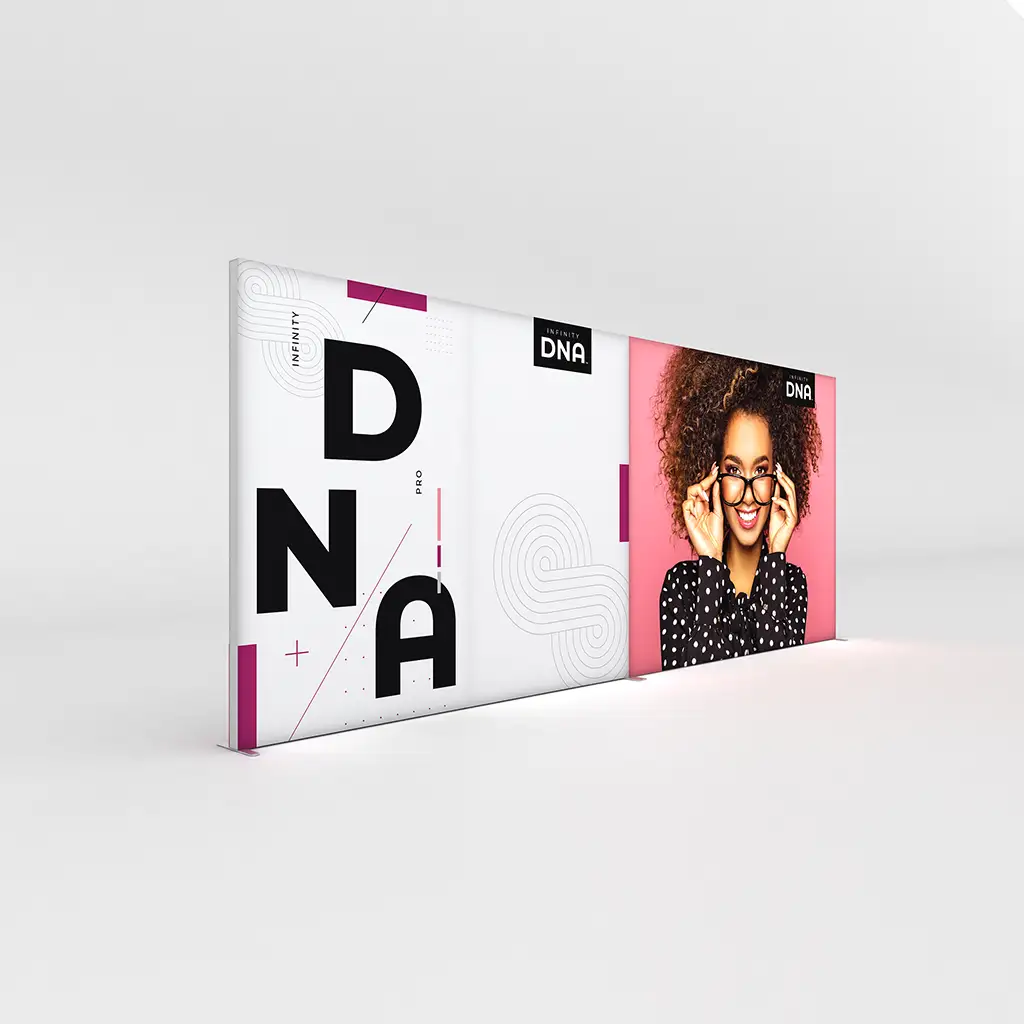
The Infinity DNA™ Pro Lightbox system is a modular LED display that combines lightweight aluminium display frames with tension fabric graphics and integrated illumination. Before starting assembly, unpack the components carefully and lay them out on a clean surface, checking frame sections, feet, LED strips, drivers, cables and graphics against the kit list. Keeping small parts together helps when you need to reconfigure reusable modular display stands for different floorplans. Always follow the manufacturer’s sequencing so compatible parts lock together correctly.
Understanding modular lightbox displays
Modular LED lightbox systems are designed to be portable, bright and easy to update, making them ideal UK trade show lightbox solutions. The frames use tool-free exhibition lightbox frames or simple fixings so teams can assemble them without specialist contractors. Stretch graphics are usually printed on premium fabric lightbox graphics with a silicone edge that pushes into the frame groove. Because the system is modular, you can build straight walls, corners or stand-alone towers from the same core kit, adjusting your footprint for each venue.
Preparing before you arrive on site
Before travelling to the venue, confirm you have all frame profiles, base plates, connectors, LEDs, graphics and power supplies. Check graphics for damage and ensure electrical components are PAT tested where required in the UK. Packing gloves, a soft cloth, gaffer tape and an extension lead will simplify installation in busy halls. If your stand includes SEG fabric banner lightboxes, label each graphic by size and position to streamline assembly. Reading the official instructions in advance significantly reduces on-site stress.
Step-by-step assembly and electrical safety
Begin assembly by connecting the lightweight aluminium display frames on a flat surface, ensuring all locking mechanisms click or tighten fully. Attach LED strips or panels into the designated channels, following numbering so the wiring sequence remains correct. For a portable LED lightbox, avoid twisting cables or stretching connectors, as this can cause flickering later. When connecting power, never exceed the recommended number of units on one driver and always use surge-protected extensions. Tape cables securely where they cross walkways to meet venue safety expectations.
Once the frame is upright and stable, fit the fabric graphic by inserting the silicone edge gradually, starting from the corners to minimise creases. This technique works especially well for fabric banner solutions designed for tension. After wiring, switch on the system and check for dark areas or inconsistent brightness before the show opens. If problems appear, power down and reseat connectors instead of forcing components. Well-maintained portable illuminated trade show displays help your brand stand out while remaining compliant with organiser rules.
Multiple units can be linked together to create a wider backdrop or L-shaped configuration using supplied brackets. Align faces carefully so artwork lines up across panels, particularly where text or product imagery spans several sections. For exhibitors who travel frequently, Infinity DNA™ Pro Lightbox kits can be labelled by size and orientation to speed up future builds. Many teams also pair them with SEG fabric banner lightboxes for added depth. With careful packing and routine checks, these systems provide a reliable, professional presence at every event.