How to Assemble WaveLine® InfoDesks: A Step-by-Step Guide
Understanding WaveLine InfoDesks and Their Components
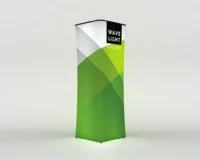
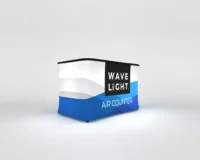
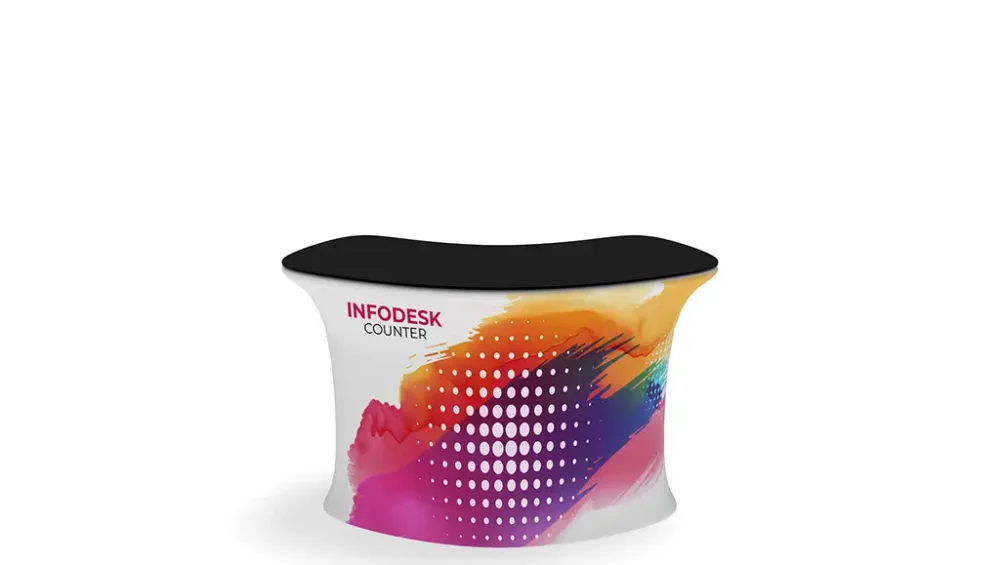
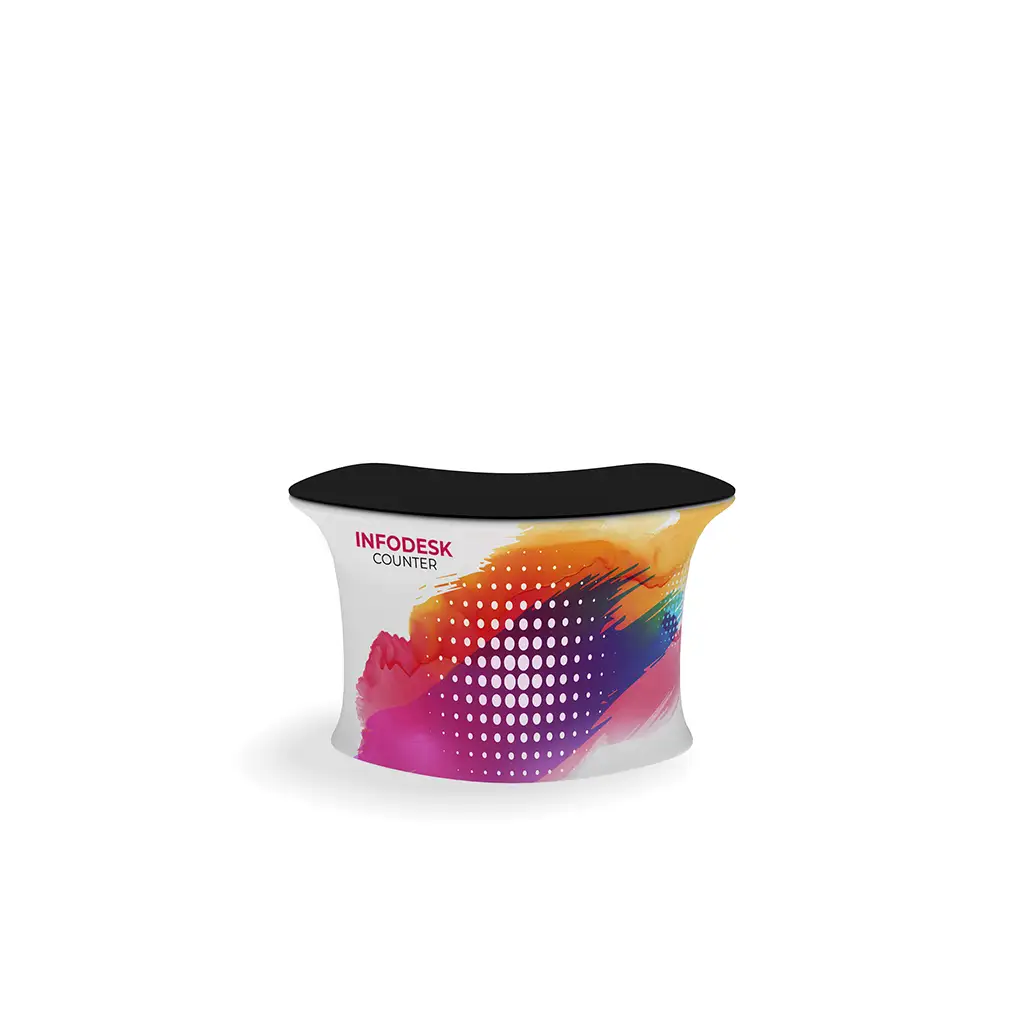
WaveLine® InfoDesks are tension fabric information desks designed to provide a professional yet highly portable counter solution for exhibitions, trade shows, retail promotions, and roadshows. Each unit typically consists of a lightweight aluminium tube frame, internal support bars, a stretch fabric graphic, a rigid countertop, and a carry case for transport. Together, these elements form lightweight event counters that can be assembled quickly on site. Understanding how each component fits and functions will help you achieve a stable, long-lasting piece of reusable display furniture.
Preparing a Safe Area Before Assembly
Before you start, choose a flat, clean floor area with enough room to lay out every part without risk of tripping. Place the countertop on a soft cloth or the supplied bag to avoid scratches and protect any laminate finish. Unpack the tubes and supports, grouping them by size or printed codes, similar to other modular promo counters. Check that no tube ends are bent, that locking buttons move freely, and that zips or silicone edging on the fabric are undamaged. This simple preparation minimises delays when you are setting up UK trade show counters under time pressure.
Step-by-Step Frame Assembly Process
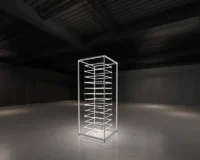
Lay the aluminium tubes on the floor in the order shown on your assembly sheet, usually guided by numbering, letters, or colour-coding. Join each section using the integrated push-button or snap-fit connectors, ensuring you hear or feel the button click fully into place. If a connector does not align, avoid forcing it; gently rotate the tube until the button locates correctly. Once the main frame is complete, add any internal supports or shelves that provide rigidity and storage. At this stage, your frame should stand straight and feel solid when lightly pushed.
Fitting the Countertop and Fabric Graphic
Position the finished frame upright and check that all joints are secure before adding the countertop. Lower the top carefully so that holes or locator pegs sit neatly on the upper frame, then secure it using the fixings specified in your instructions. Next, slide the fabric graphic over the structure from top to bottom, keeping it away from rough floors to protect the print. Align logos and messages so they face your audience, just as you would with branded exhibition counters. Close the zip or seat the silicone edge into the base channel, smoothing wrinkles for a crisp, professional look.
Allow extra time the first few times you assemble WaveLine® InfoDesks so your team becomes familiar with the sequence and handling. When dismantling, reverse the process: remove the graphic first, then the countertop, followed by the tubes, stacking parts by size for quicker packing. Fold the fabric loosely along existing seams to limit creasing, which is especially useful if you use these units as trade show reception desks or portable branded kiosks at multiple events. Store everything in the supplied case in a dry, temperate space to protect the print and frame. With practice, you will have reliable custom display counters that work as practical portable reception furniture and portable information kiosks for many future events.
To deepen your understanding of how these counters support efficient event set-up, consider documenting your preferred order of assembly and repacking, including who handles each step within your team. This simple checklist approach mirrors professional processes used for larger portable information kiosks and helps new staff assemble the unit confidently without supervision.
If you would like expert guidance on selecting the right configurations, combining multiple units, or planning layouts for tension fabric information desks at busy venues, speak with a display specialist to review your stand needs, branding goals, and event schedule so you can make an informed decision and maximise every installation.