How to Assemble WaveLight® Air Wall Lightboxes for Events
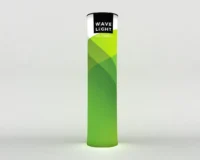
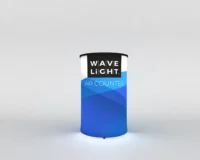
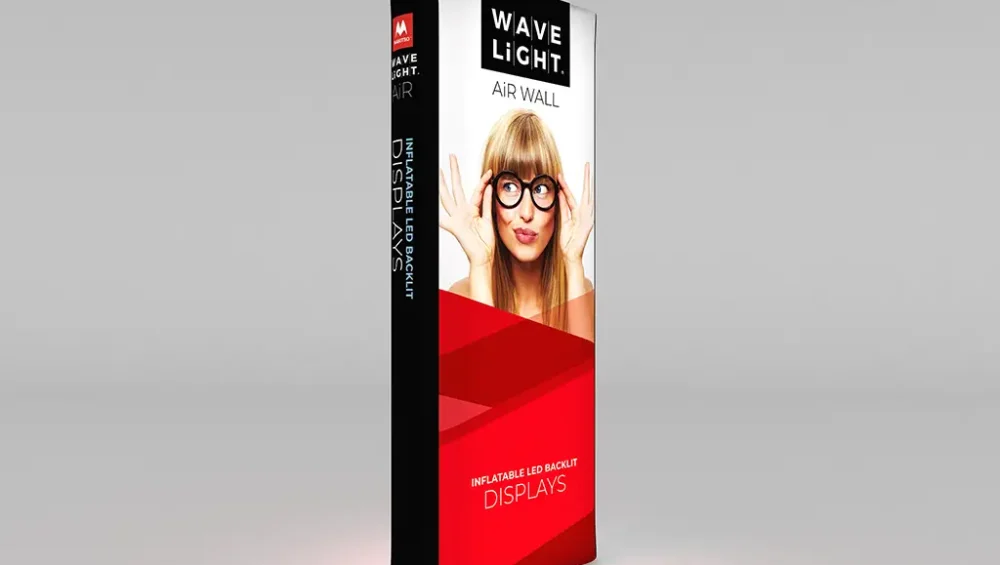
Understanding how to assemble a WaveLight® Air Wall Lightbox helps event teams achieve professional, illuminated branding in minutes. These inflatable fabric display systems combine integrated lighting with tensioned graphics to create portable illuminated backdrops suitable for exhibitions, conferences, and retail activations. By learning the components, setup process, and safety checks, you can confidently manage installation without specialist tools. This guide explains what is included in a standard kit, how to build the unit step by step, and what to consider for reliable performance throughout your event.
What comes in your lightbox kit?
Your kit usually includes an inflatable frame, a dedicated electric pump, LED lighting, power cables, and printed textile graphics, all stored in a carry bag. Before leaving for site, lay everything out in a clear area and compare it with the supplier’s packing list. Confirm that valves, zips, and connectors are intact, and that plug types match the venue’s power supply. This basic pre-check helps prevent delays on build-up day and supports reusable illuminated branding over multiple events.
Step-by-step inflation and lighting setup
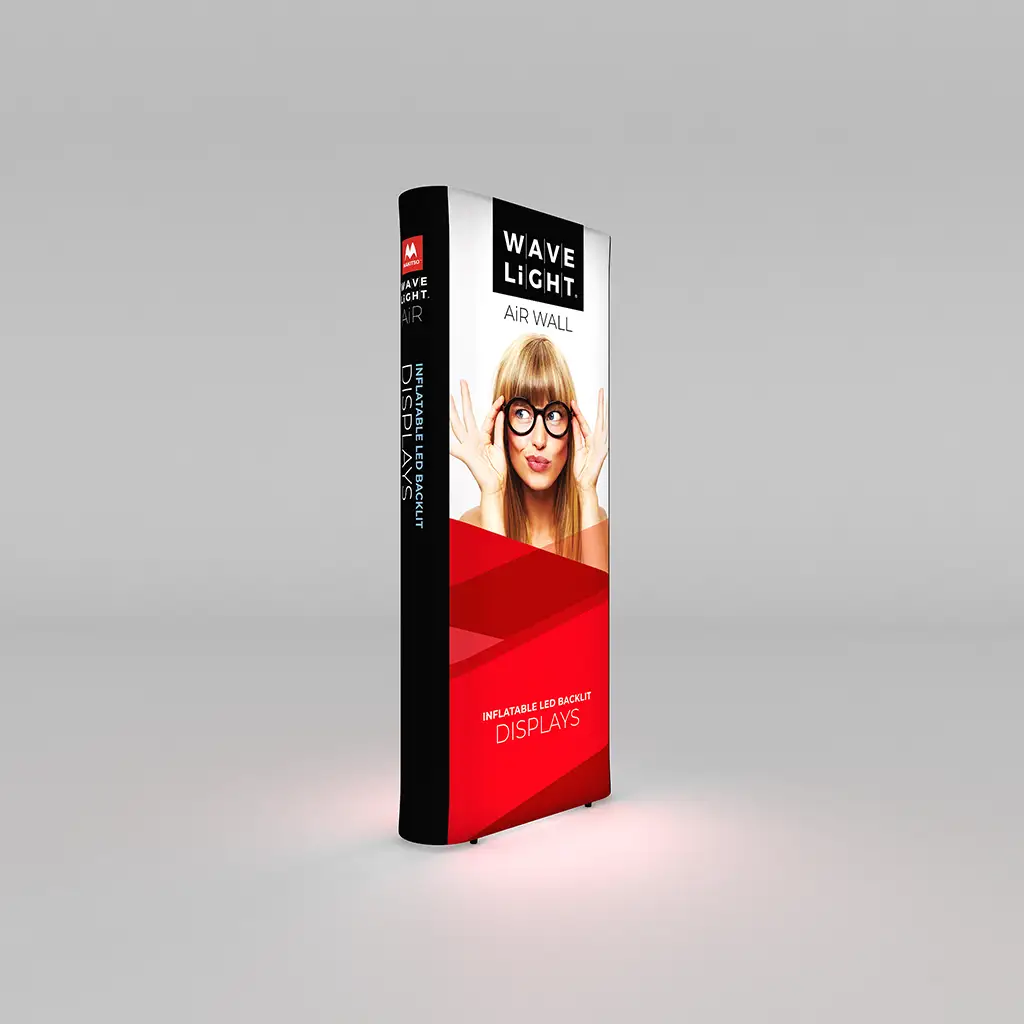
Begin by placing the deflated frame on a clean, level surface, away from sharp edges and heat sources. Attach the pump securely to the inflation valve and monitor the structure as it fills; the frame should feel firm yet slightly flexible, not rock hard. Close the valve tightly to minimise air loss, especially for longer events. Next, install the LED lighting strips following the manufacturer’s layout so your LED backlit event walls provide even coverage, with cables routed neatly and kept clear of walkways.
Fitting graphics and refining the visual finish
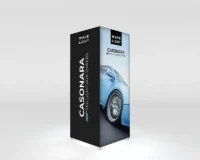
Once the frame and lighting are in place, slide or zip the printed fabric over the structure, aligning corners and seams carefully. Smooth the textile using flat hands to remove creases, ensuring logos and key messages sit at eye level. Correctly tensioned graphics enhance fabric lightbox features by diffusing light evenly, reducing hotspots and dark patches. This process is similar across many custom wall light displays, though exact fixing methods may vary slightly between models and sizes.
When planning your stand, consider how the WaveLight® Air Wall Lightbox will integrate with other illuminated display solutions and surrounding fixtures. Check ceiling heights, access routes, and proximity to power outlets before deciding on final placement. For busy venues, add weights or discreet tethers, particularly with taller or narrow units, to improve stability. Many organisers appreciate the tool-free inflatable lightbox setup, which allows rapid installation during tight build schedules while still delivering a lightweight exhibition lightbox suitable for transport in standard vehicles.
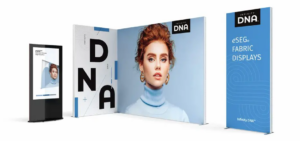
If you intend to tour with the same unit, understand how this inflatable fabric display system can support different layouts and messaging. Some models accept interchangeable skins, enabling custom branded light walls for various campaigns without replacing the entire structure. Others work alongside SEG graphic light frames or traditional modular systems to create layered, custom branded light walls that stand out from conventional printed panels. For more technical guidance on fabric graphics and lighting options, speak with an expert to explore the most suitable illuminated display solutions for your programme.
To make an informed decision, consider build time, staffing, storage space, and how portable illuminated backdrops will be transported between events. Assess whether a single unit is sufficient or if multiple custom wall light displays are required to frame entrances, stages, or product areas. If you are unsure, arrange a test build in your office or warehouse to measure timings, check for missing parts, and confirm that the final effect meets brand expectations. For detailed advice on planning, assembly, and long-term maintenance, contact an exhibition display specialist and request tailored guidance for your next event.