How to Assemble WaveLight® Casonara Lightboxes: A Step-by-Step Guide
Understanding your display system
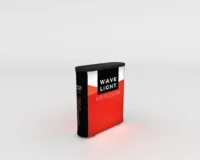
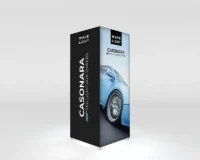
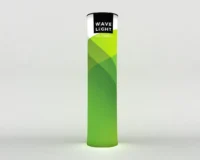
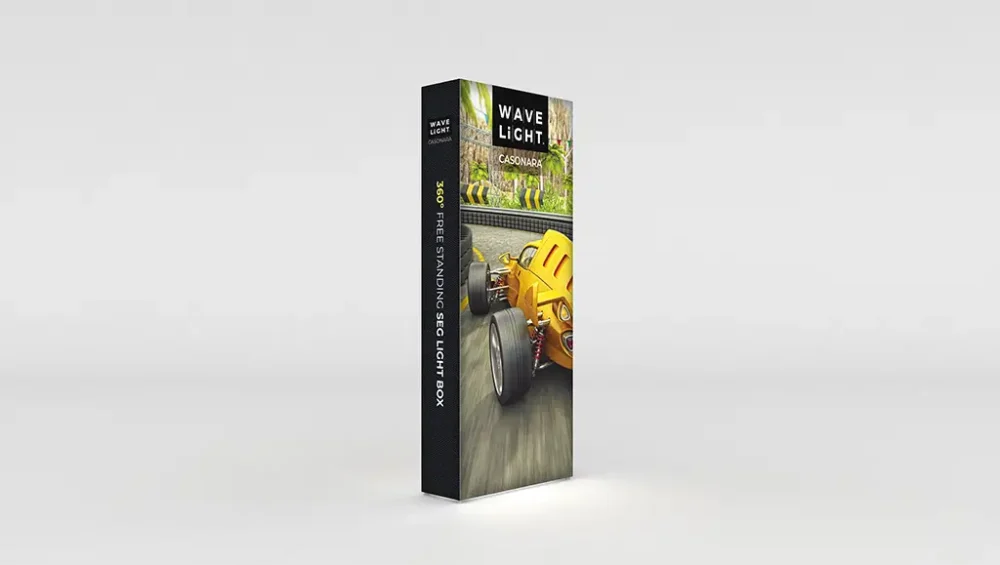
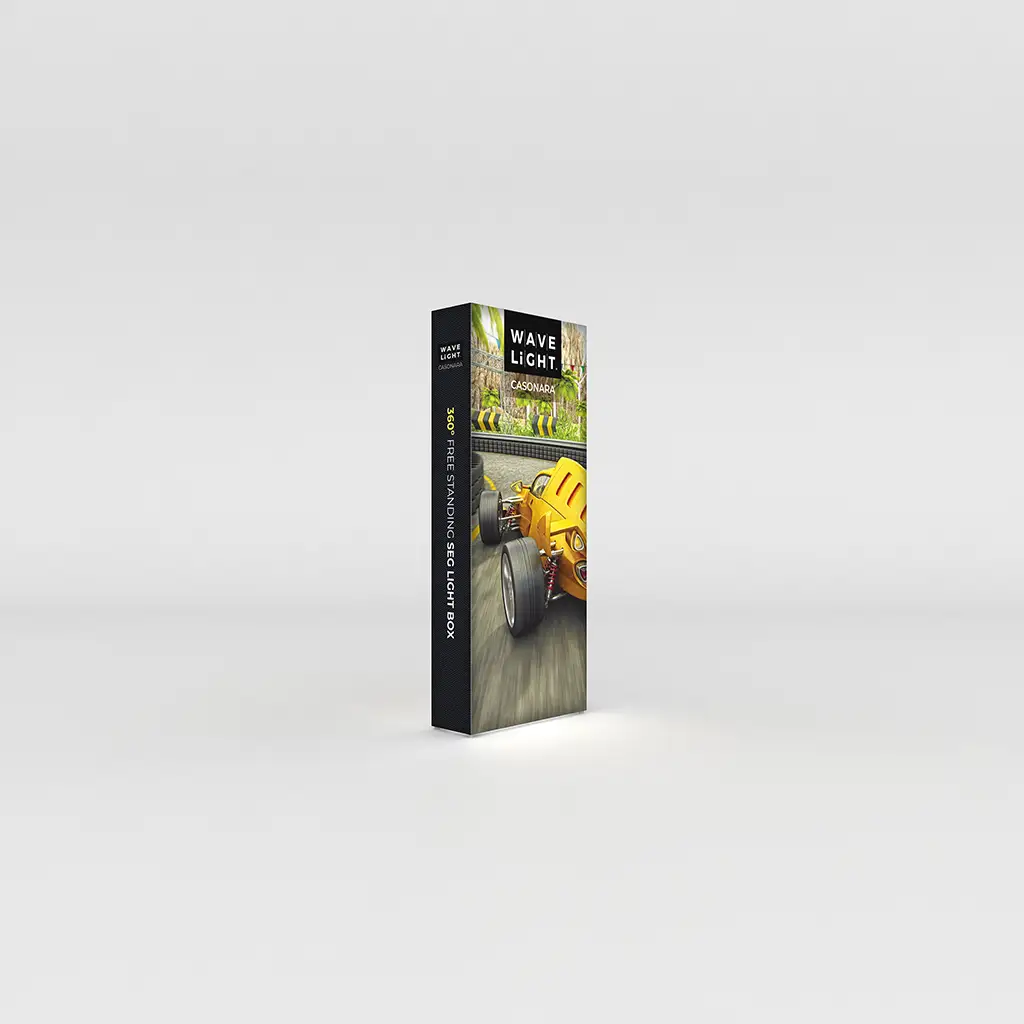
WaveLight® Casonara Lightboxes are freestanding, backlit display systems designed for busy UK exhibitions, trade shows and retail environments. Each unit combines an aluminium frame, integrated LED lighting and tension fabric graphics to create bright, even illumination. Before you start assembly, carefully unpack all components, check them against the packing list and review the manufacturer’s instructions. This preparation helps ensure you have the correct size, configuration and power accessories for your venue. It also reduces the risk of damage to your prints and frame during set-up.
Key components and what they do
Your kit typically includes numbered aluminium frame profiles, corner connectors, stabilising feet, LED light arrays or edge-lit panels, power leads and silicone-edge fabric graphics for the front and back. These premium SEG lightbox systems are engineered for quick, straightforward assembly without specialist tools. Most parts either push-fit, click or twist-lock into place, making them suitable for teams with minimal installation experience. Understanding how the silicone edging seats into the frame channel will help you achieve a smooth, crease-free finish. Familiarity with cable routing also keeps your illuminated display solutions safe and reliable.
Step-by-step assembly process
Begin by laying all frame sections on a clean floor, organising them by their labels so you can identify the verticals, horizontals and corners easily. Connect the profiles using the built-in push-fit or twist-lock mechanisms, forming a rigid rectangular structure before adding the stabilising feet. Once upright, attach the LED modules or strips inside the frame with the supplied clips, keeping cables neat and avoiding tight bends. Connect the low-voltage leads to the power supply, but do not switch on yet. This staged approach mirrors best practice for UK exhibition lightbox displays and helps prevent rework.
Fitting graphics and checking lighting
After the frame and lighting are in place, you can fit the tension fabric prints. Start by inserting the silicone edge into each corner of the frame, then work gradually along each side, alternating to maintain even tension. This method is especially important for double-sided fabric lightboxes, where both faces must sit smooth for a professional appearance. Once the SEG fabric is fully seated, turn on the power and inspect the graphic for shadows, dark spots or light leaks. Adjust any misaligned LED strips to restore uniform, energy-efficient display lighting.
Practical tips, safety and troubleshooting
Making the most of your lightbox investment
Allow extra time for your first assembly so staff can become confident with these tool-free lightbox frames. Handle printed graphics on a soft, clean surface and roll them for transport, which is ideal for portable advertising lightboxes and portable retail lightbox stands. If any LED sections fail, first check that all connectors are firmly seated and that you are using the correct power adapter for the venue. For larger stands, consider modular illuminated display walls or custom lightbox designs to suit changing event layouts. A well-presented WaveLight® Casonara Lightbox will help your brand stand out among competing LED trade show lightboxes.
Next steps and expert guidance